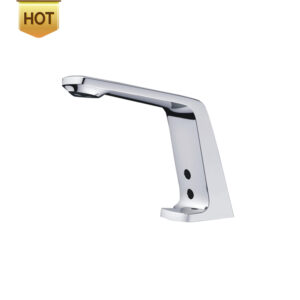
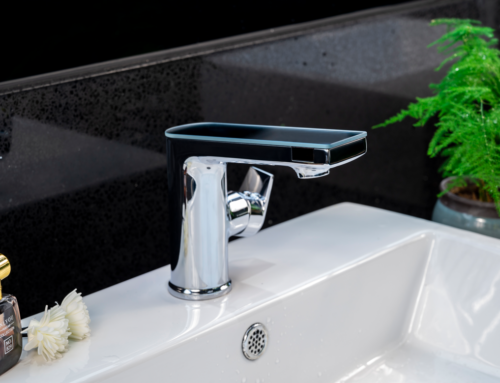
Touch free IR sensor automatic faucet is becoming more and more popular in commercial places. This article is going to tell how to install and some trouble shooting during using.
How to install?
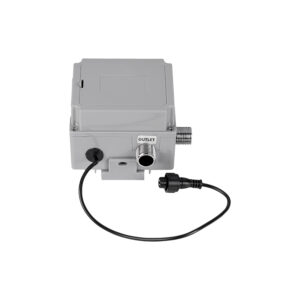
There are mainly two parts: faucet body and control box.
1: Take out the faucet, remove the lock nut and two washers, pass the wire and the hose through the basin hole, install back the two washers and fixing the lock nut.
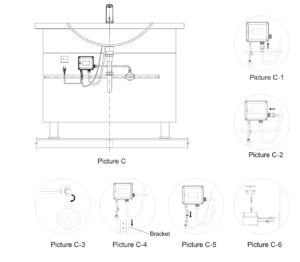
2: Find a suitable position under the basin, and nail holes on the wall, and fix the bracket on the back of the control box to the position
3: Connect the hose with the control box water outlet and lock it tightly, as C-1.
4: Take another two-end hose with G1/2 thread(purchased by the client), one end is locked with the control box water inlet(as C-2), and the other end is connected to the water supply angle valve and lock it firmly(as C-3);
Note: If the angle valve is not G1/2 thread, please choose the matching hose.
5: Fix the control box on the bracket(as C-4), connect the wire on the control box and on faucet(as C-5);
6: Connect the AC adapter into the main power, and connect the DC end to the control box (as Figure C-6);
Note:
There should be no gap after the wire connected to prevent water from entering; please install the batteries in the correct polarity as marked on the battery box.
How to replace batteries?
1) Open the upper cover, and take out the battery box group;
2) Take out the old batteries and replace with new four AA alkaline batteries;
3) Check that if the installation is correct, fix the battery box group back, and return it to its original position, and fasten the upper cover.
Note:
Make sure the batteries are installed correctly (“+”positive and“-” negative charge). DO NOT mix new & old batteries. Do NOT mix batteries of different brands.
Trouble shooting sheet
| Abnormal Phenomena | Possible Reason | Suggested Solution |
| No sensor light flash, no water flow | AC power failure | Check the circuit and wait for the power |
| No battery, reverse installation, or poor battery contact | Install the battery, or reinstall the battery after correct polarity | |
| The sensor wire connect not well | Reconnect the sensor wire | |
| Sensor work but no water flow | Obstacles in the sensing range | Move away the obstacles |
| Sensing distance is too long, self-induction with basin | Shorten the sensing distance by the remote controller | |
| Dirt on sensor case | Clean the sensor case | |
| Outside infrared rays exceed standard | Remove or avoid direct infrared rays from the outside | |
| The indicator light flashes continuously at a slow speed, no water flow | Batteries run out | Replace same brand and new batteries |
| The indicator light flashes normally after sensing, but no water flow | The water inlet valve or main water valve is not opened | Open the water inlet valve or main water valve |
| Water non-stop | Solenoid valve blocked | Clean the solenoid valve |
| Water pressure is not applicable | Refer to technical parameters | |
| Low water flow | The water inlet valve or main water valve is not fully opened | Open the water inlet valve or main water valve to the max. |
| Dirt on water filter net | Clean the water filter net | |
| Water pressure is too low or water is cut off | Adjust the water pressure or turn on the water source |
If you have questions about sensor faucets, welcome to contact us: sales3@rajeyn.com, +86 17750312712

